My innovation project, while started pretty slow, seems to be doing well currently. In fact I might be combining my efforts with a fellow student, Casey Cho, to provide material for his project as well. But since this project I was doing was AMAZING~…to me anyway… I decided to tell you guys the steps I took to make my project. … OK FINE my teacher wants us to explain the steps we took for our project so far =__= But I am taking the effort to tell you so listen up!
Step 1: PLANNING
The start of a complex project and an effort to complete it on time always starts with a schedule or at least a written plan. In this case, Mr.Theriault gave the class (including me) a chance to plan our innovation project ahead of time on a ideaFM powerpoint. Of course this was the barest plan and not very accurate due to it just being deadlines to follow.
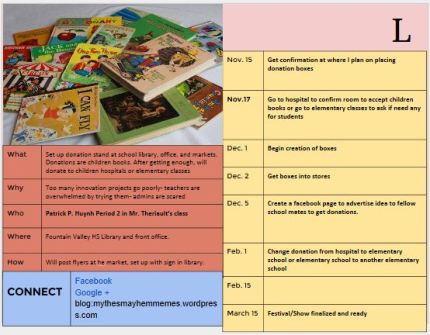
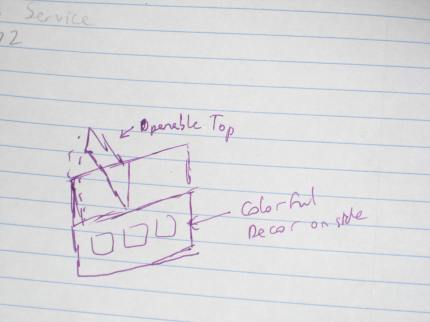
While I was able to set deadlines for myself, I still needed a way to get books donated to me. I needed a way where people can just donate it with me standing there looking like a creeper and waiting, so I began drawing out diagrams and possible options. Eventually I came up with a donation box, with a lid that can be opened to retrieve books from. Here is the sketch I made early on. A little messy yes but gets the job done.
Step 2: GETTING SUPPLIES
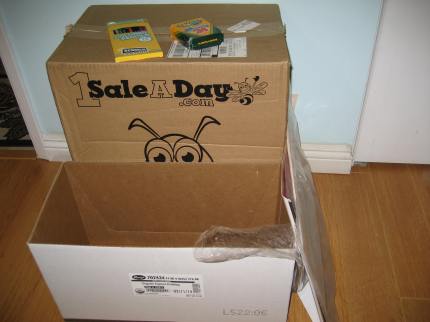
Once I finished with the easiest part of the process, I had to move on to the next step…gathering materials. Normally this shouldn’t be that hard, getting a box large enough for some books and a flap to cover the top. The thing is, I wanted it so that the flap would be able to fit snuggly into the top of the box, have it easy to open the flap, and still leave enough space to just slide books in(I’m fickle like that-leave me alone). My success in finding the perfect box and cover took me longer than I expected…way too long. Even then, the flap I am using doesn’t cover the top of the box entirely, leaving a small slip. I plan on just using it as a way for people to slip their books in without having to open the flap. Luckily I have crayons, markers, and pens/pencils at home so I had that covered.
Step 3: HUMBLE BEGINNINGS
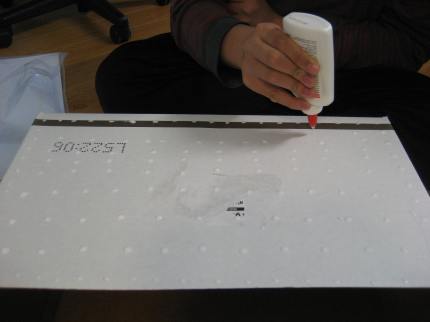
I would like to say I was on a roll and started my project the second I got the materials…but then I would be lying. It took me a bit of time, but eventually I was motivated enough to start wrapping the box what white poster paper. The reason for this was I wanted the box to be perfectly white, allowing me to easily start drawing and decorating without previous pictures or logos to hinder me. The process took lots of glue dots…it was annoying and slow but eventually I was able to finally place the white construction paper on and it looked clean.
Step 4: Drawing a Master Piece
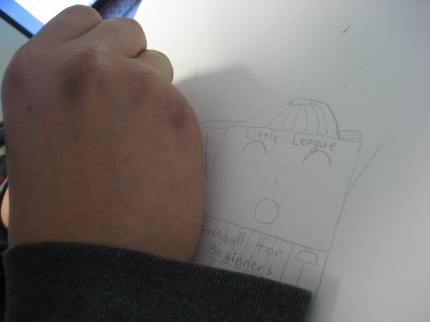
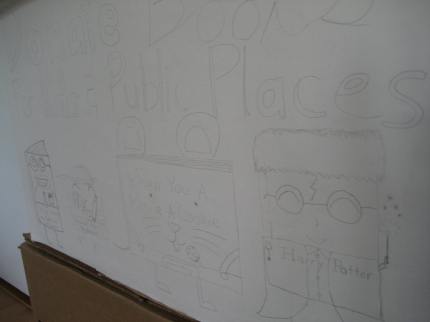
Finally I began to draw, and at first I didn’t know what to draw. It took me a few minutes, but since my project was based on books and children, I decided to draw books. Naturally since I am a guy, the first few sketches on the box was…horrifying to say the least. After half an hour of work, I finally drew what seemed like cute books (in my mind anyways).
Step 5: Coloring the Cartoon
My last step in decorating the box that I have put much effort into making was coloring. In order to make it stand out, I decided to make most of the words different but bright colors. Hopefully it will draw attention to the words and get the message across… that I WANT SOME DONATED BOOKS PEOPLE~! In the picture the box isn’t fully colored but I that is due to me trying to decide what is the best colors to continue with. I don’t want this box to look like a kindergartener went wild with color without knowing what color matches with what.
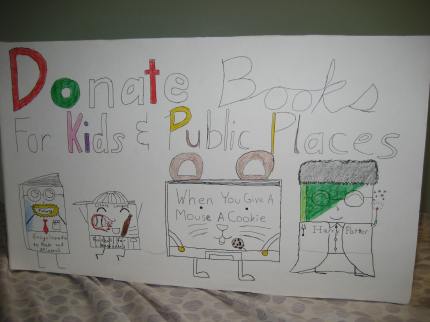
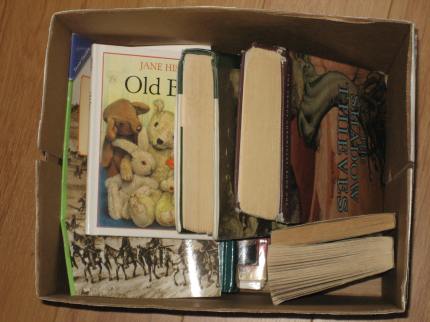
What I plan on doing next now is completing the beautiful cartoons I made, and finally setting it on its way. Hopefully I get more books besides the ones already donated to me (THANKS COUSIN AND FRIENDS WHO ARE READING THIS THAT DONATED BOOKS) and letting Casey include it in his book exchange innovation idea. I might still give some to schools or libraries that but I already gave some.
If you guys are more interested in the progress of my innovation project or want to know more about where the box will be located, it will be posted on this blog as soon as it is out. In addition if you have any tips or ideas you would like to share please comment.
And finally for those who are doing a project that requires similar work to mine, please make sure you have most of the material before hand (not looking around like me) and start on it a bit at least when you gather all the materials. Boxes can be found in Costco easily and can be bought at office stores so its a good idea to look around for the best one.
THANKS FOR TAKING THE TIME TO READ THIS AND HAVE A NICE DAY~!